|
|
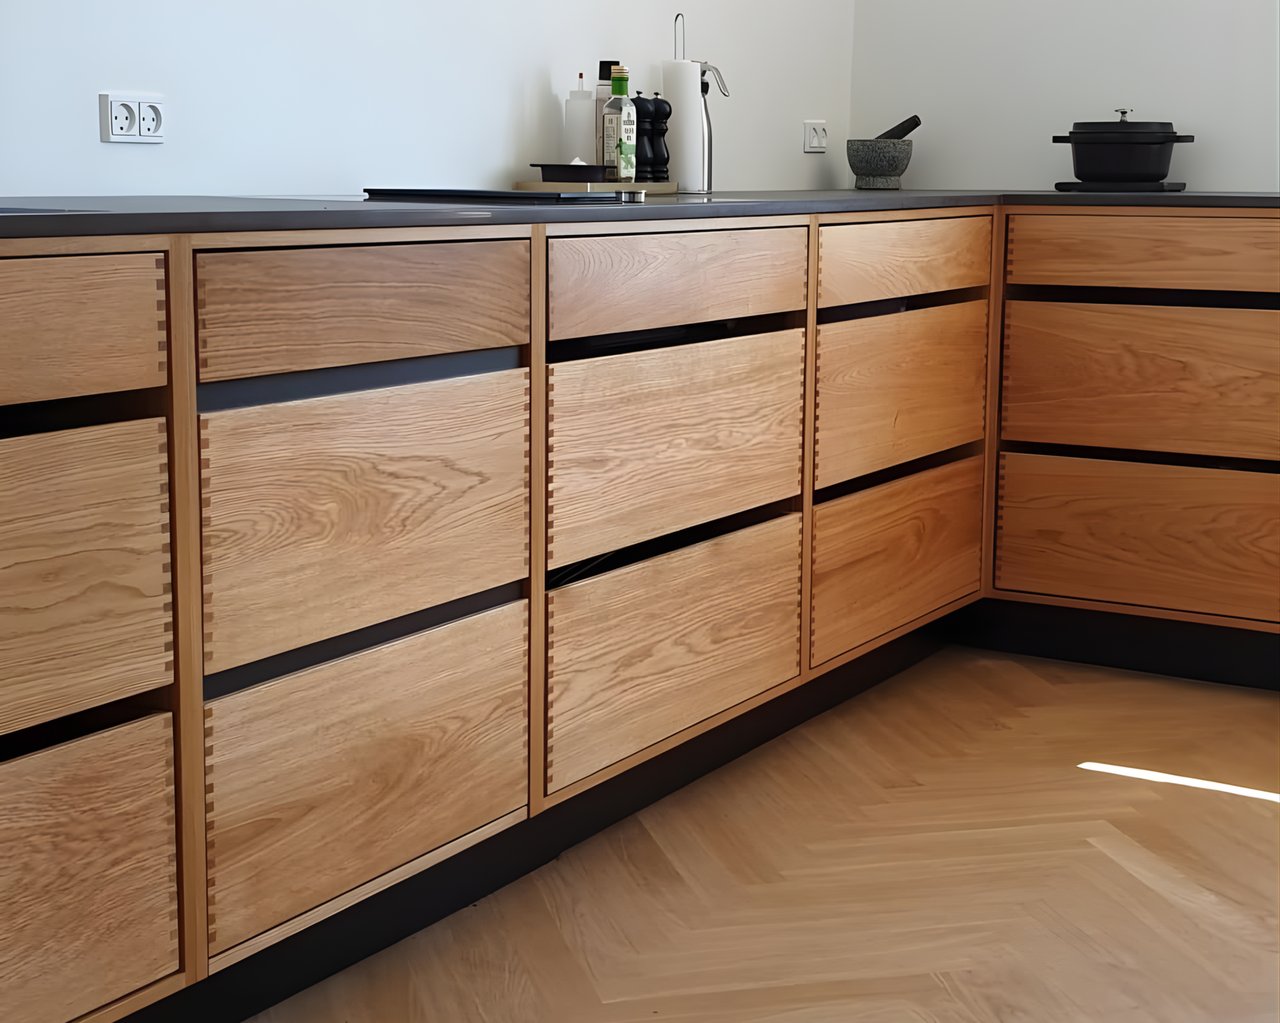
If your kitchen or bathroom feels outdated, don’t rush into an expensive remodel — sometimes, a simple cabinet makeover is all it takes to completely refresh your space!
With just a few tools, some patience, and a splash of creativity, you can transform tired cabinets into a stylish focal point. Here’s how to do it step-by-step like a pro.
|
|
|
|
|
|
|
|
|
Start by removing all hardware — knobs, handles, and hinges. Clean the cabinet surfaces thoroughly using a mild cleaner to get rid of grease and dirt. This ensures the paint or stain adheres properly for a long-lasting finish.
|
|
|
|
|
|
|
|
|
|
|
|
Remove Old Paint (If Necessary)
|
|
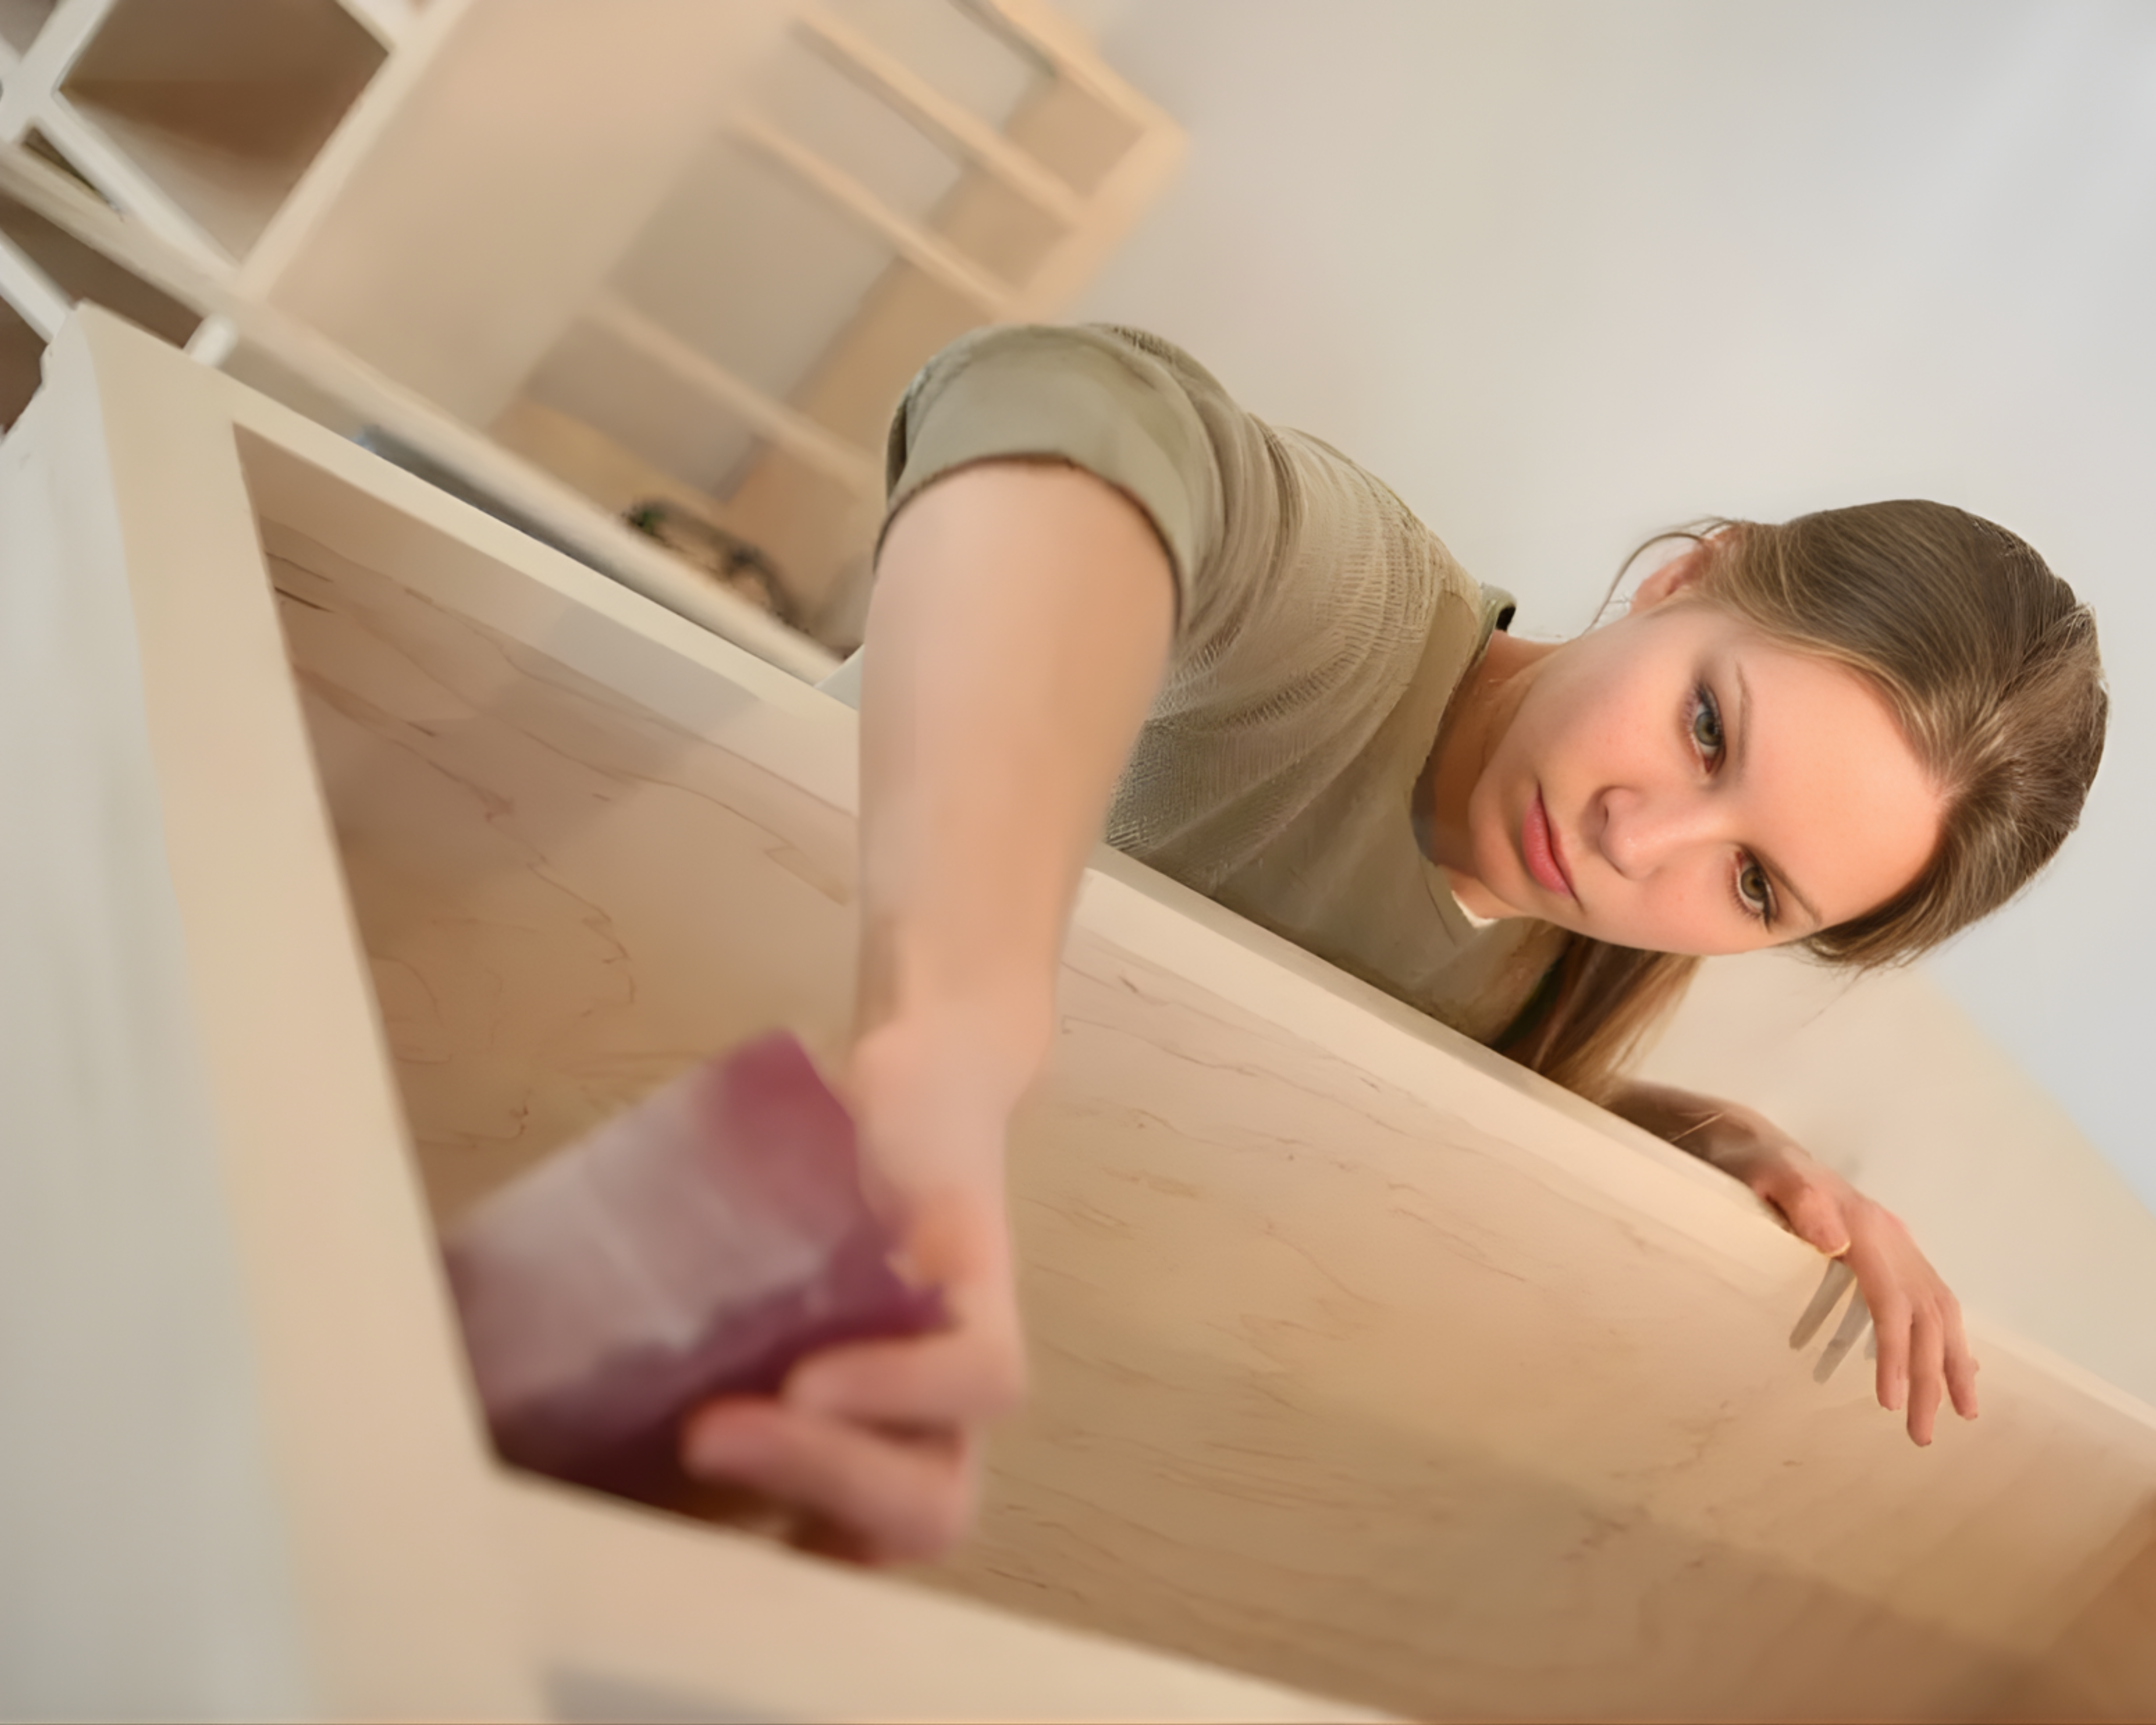
If your cabinets have peeling or chipping paint, remove it before refinishing. Use a paint stripper or fine-grit sandpaper, following the product’s instructions. Work in a well-ventilated area for safety and comfort.
|
|
|
|
|
|
|
|
|
If you’re planning to change the placement of your hardware, use wood filler to patch the old holes. Apply it with a putty knife, let it dry, then sand it smooth. You’ll get a clean, even surface that looks brand new once refinished.
|
|
|
|
|
|
|
|
|
|
|
|
|
|
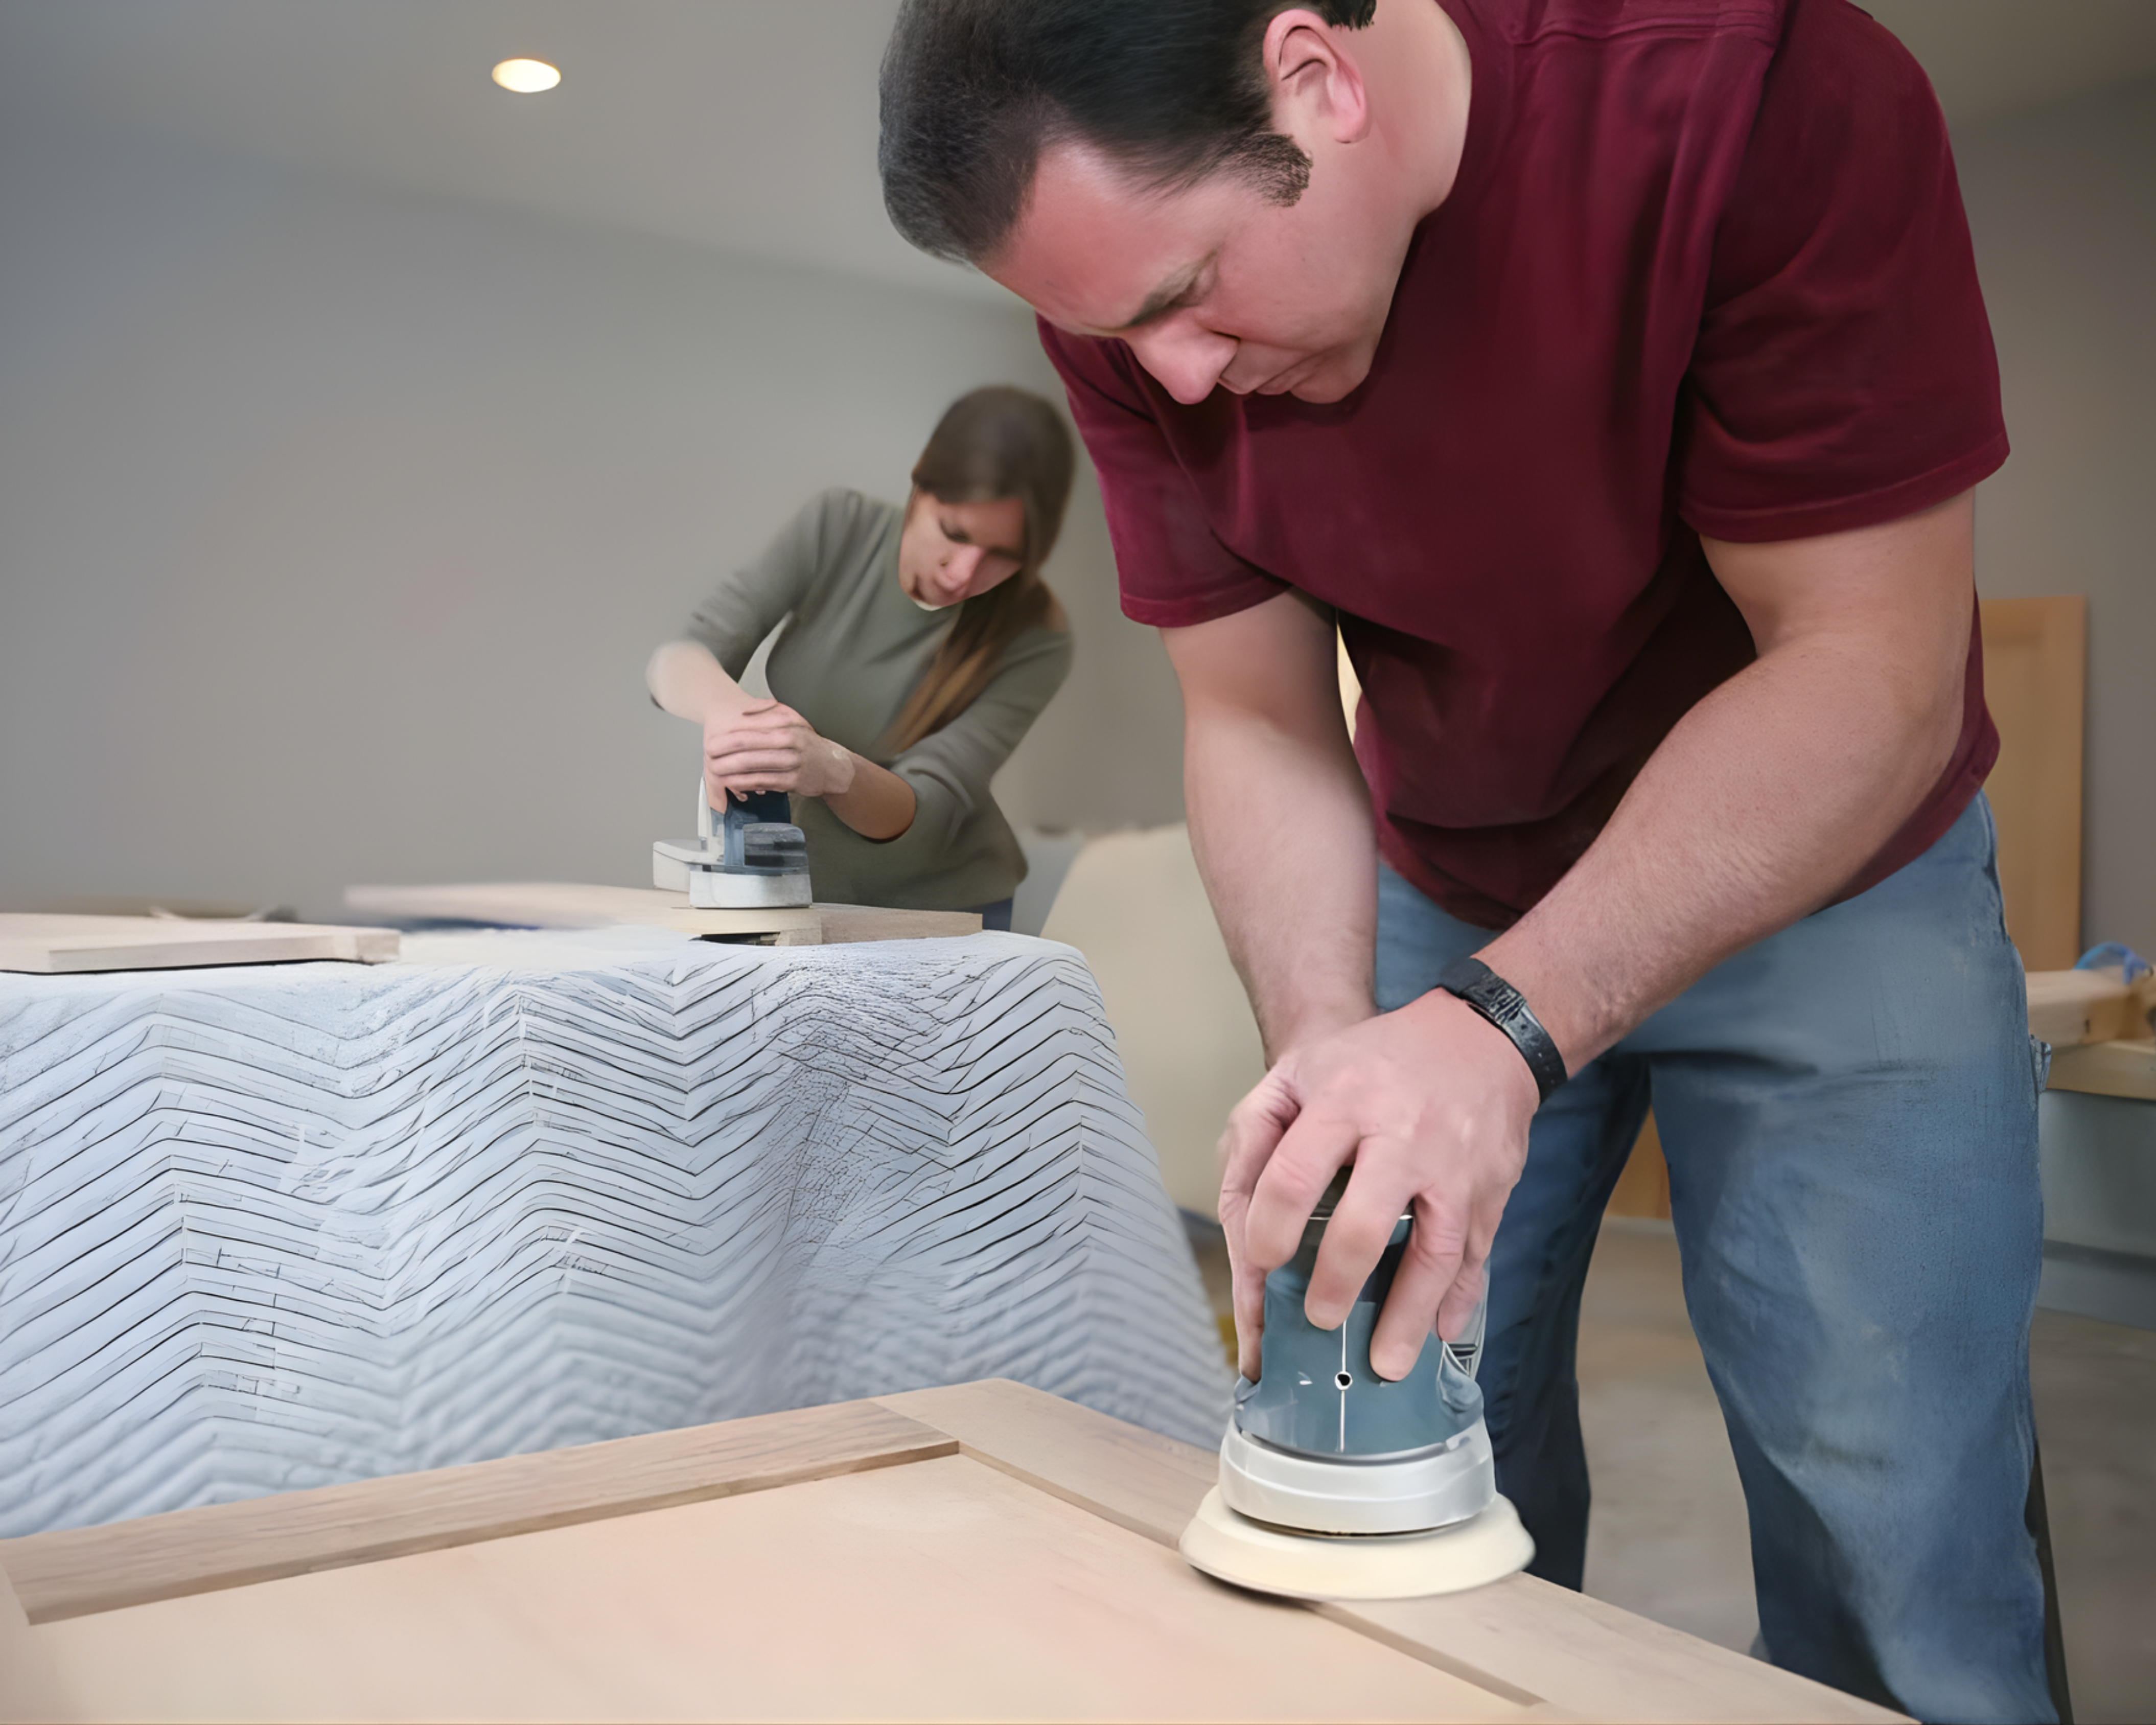
Use fine-grit sandpaper to lightly sand all cabinet surfaces. This smooths out imperfections and helps the new finish adhere better. Wipe away dust with a damp cloth afterward to prep for the next step.
|
|
|
|
|
|
|
Choose Your Finish & Apply It
|
|
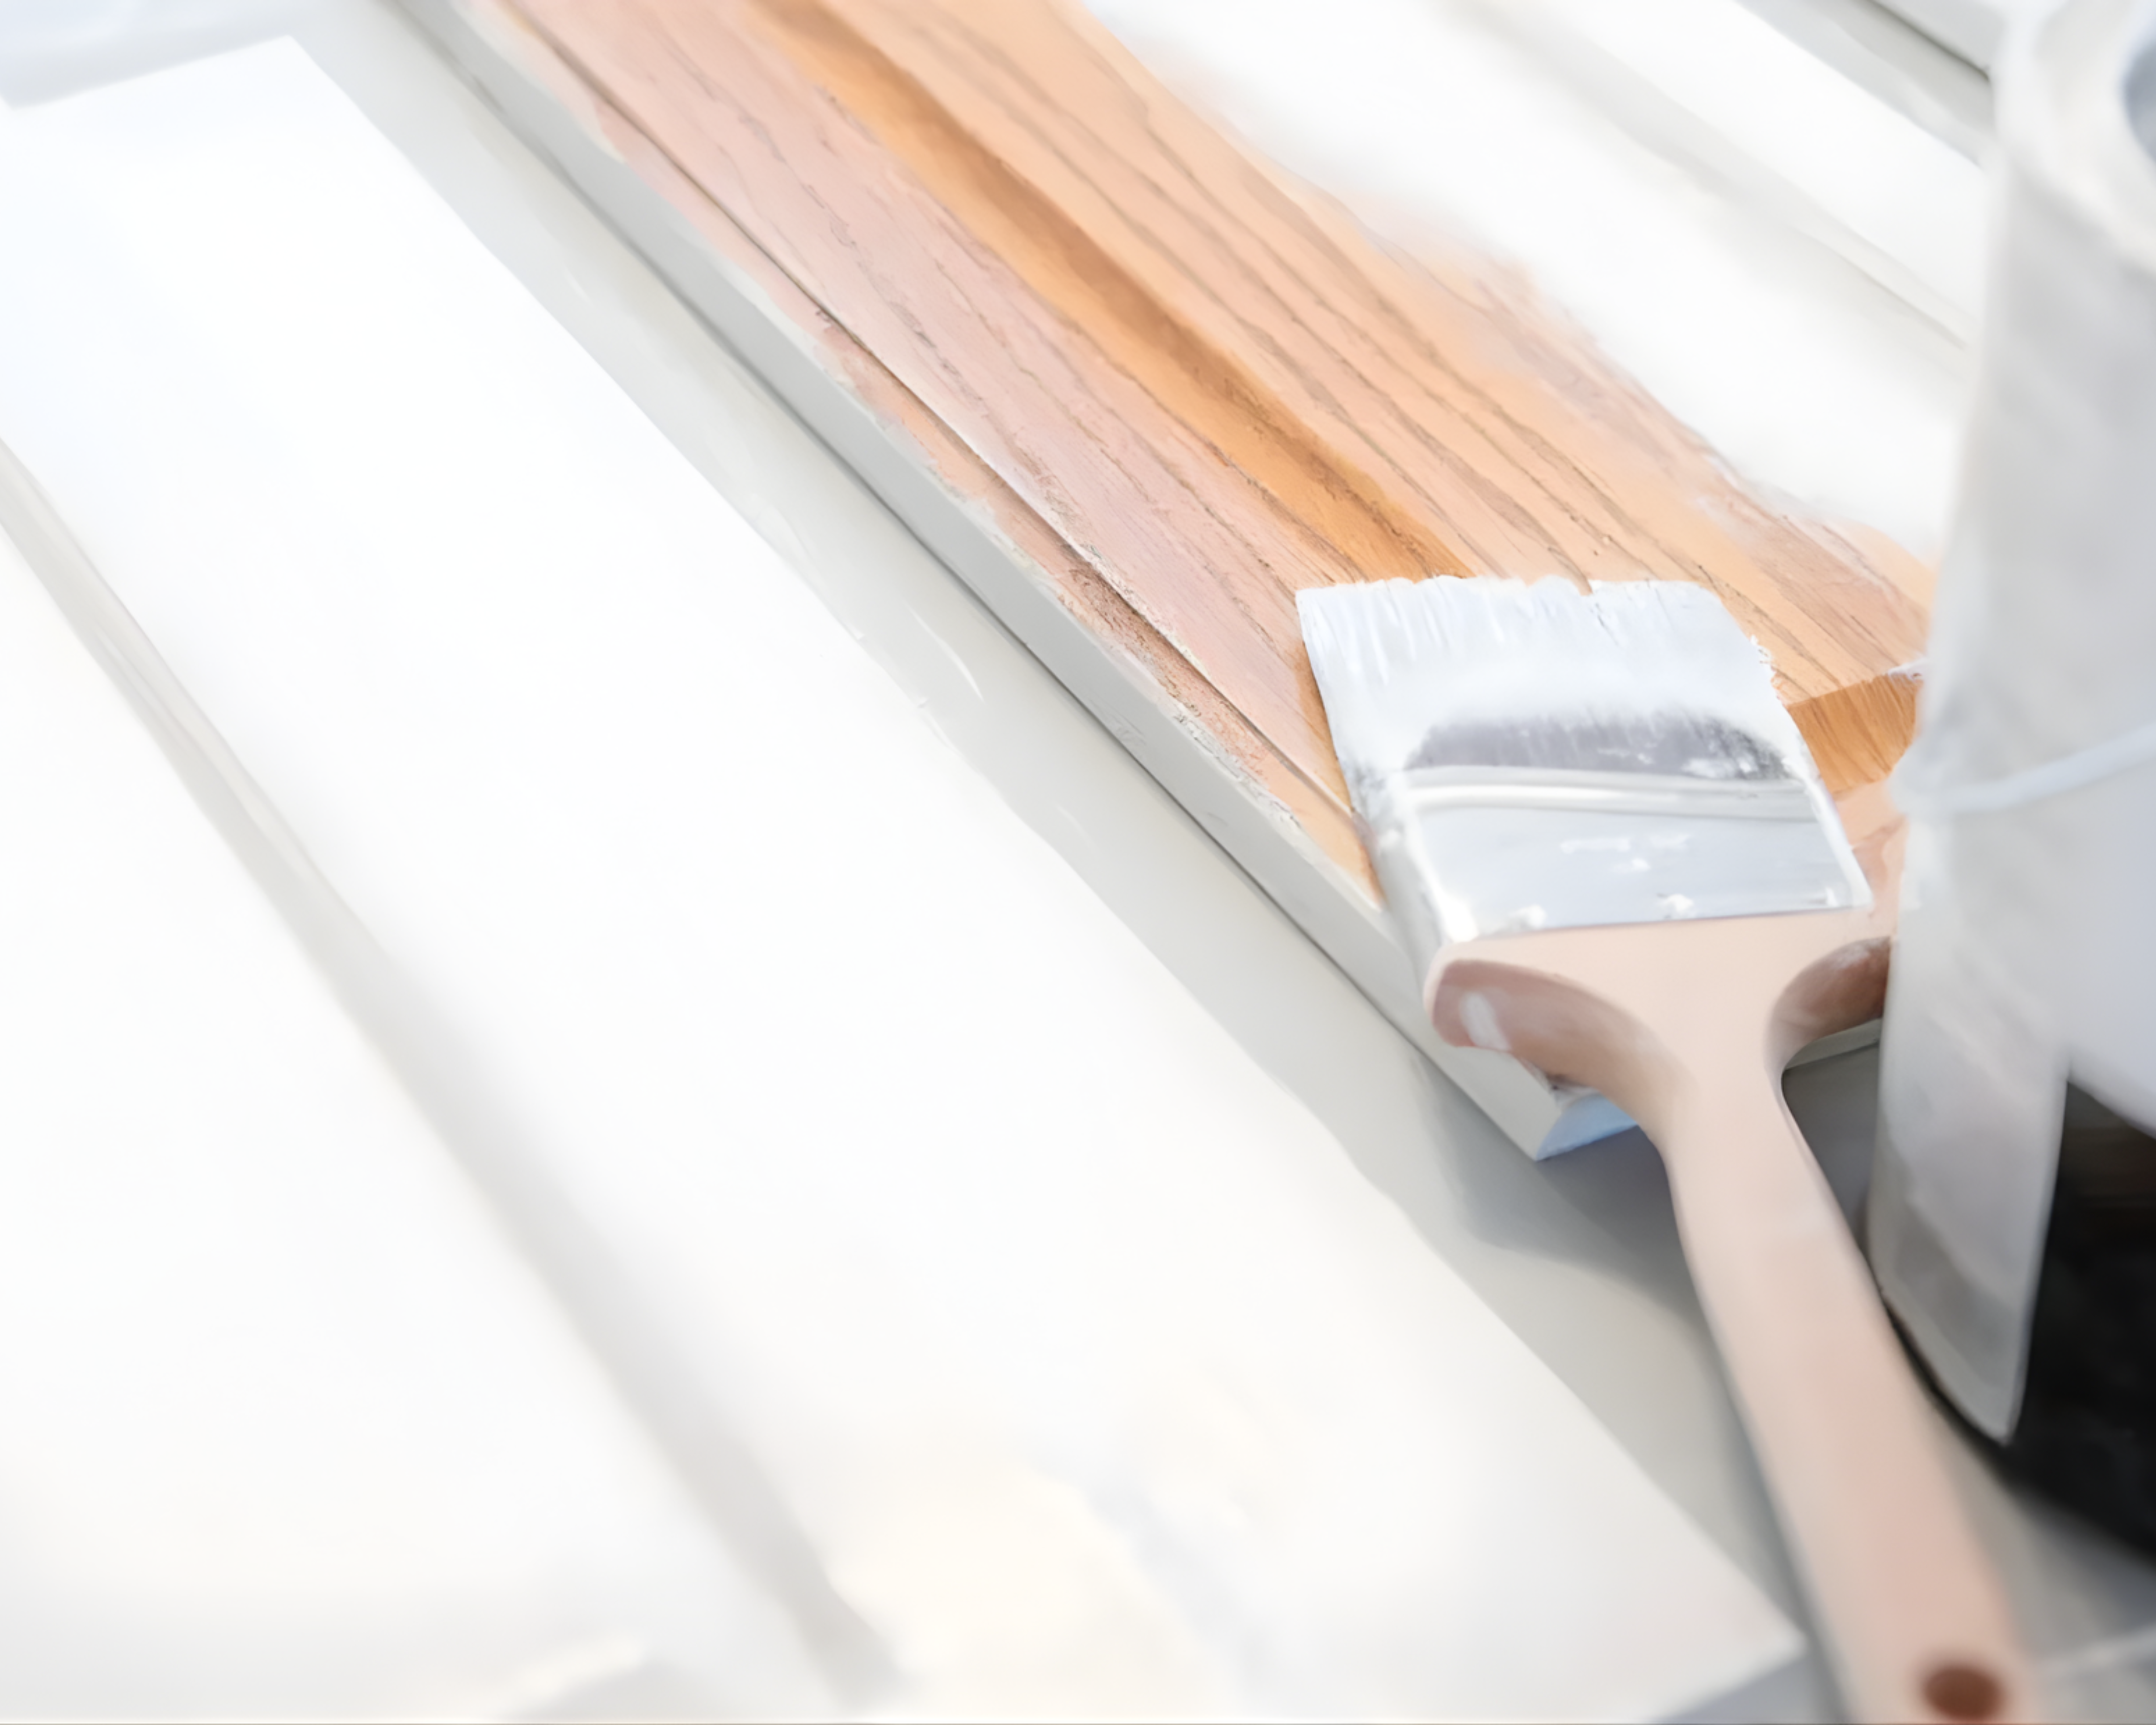
Now comes the creative part! Decide whether you want to paint or stain your cabinets:
-
Paint gives you endless color choices and can completely change the vibe of your space.
-
Stain highlights the natural beauty of the wood for a warm, timeless look.
If painting, start with a primer to help the color stick and prevent stains from bleeding through. Once it’s dry, apply your chosen paint or stain evenly using a brush, roller, or sprayer. Allow the first coat to dry completely, then add a second coat for an even, professional finish.
|
|
|
|
|
|
|
|
|
|
|
|
Add New Hardware & Reassemble
|
|
Once everything is dry, it’s time for the fun part — reassembly! Attach your stylish new handles or knobs, rehang the cabinet doors, and admire your work. Small details like updated hardware can completely elevate your cabinets and tie the whole makeover together.
|
|
|
|
|
|
|
Step Back and Admire Your Cabinet Glow-Up!
With some prep work, a bit of sanding, and a fresh coat of paint or stain, your cabinets now look as good as new. Whether you went for a bold, modern color or a natural wood tone, this simple DIY project proves you don’t need a big budget to make a big impact. Your cabinet glow-up has completely refreshed your space — and you made it happen with your own hands!
|
|
|
|
|
|
|
|
|
Compass is a real estate broker licensed by the State of California operating under multiple entities. License Numbers 01991628, 01527235, 01527365. All material is intended for informational purposes only and is compiled from sources deemed reliable but is subject to errors, omissions, changes in price, condition, sale, or withdrawal without notice. No statement is made as to the accuracy of any description or measurements (including square footage). This is not intended to solicit property already listed. No financial or legal advice provided. Equal Housing Opportunity. Photos may be virtually staged or digitally enhanced and may not reflect actual property conditions.
|
|
|
|
|
|
|